Spring Restful example with Spring Security. Capturing images with the webcam.
I am going to describe here how to build a simple rest web service with a post and a get method using Spring. In our example, our application will detect movement and take photos with the webcam when the user orders it. We will use Spring Security for the authentication.
The basic schema of our application will be the following

Configuring Spring Boot and Spring Security
Let's start with CaptureImageConfiguration which will contain the configuration details:
/spring-rest-security-webcam/src/main/java/com/hjbello/CaptureImageConfiguration.java
package com.hjbello;

import org.springframework.beans.factory.annotation.Autowired;
import org.springframework.context.annotation.Bean;
import org.springframework.context.annotation.ComponentScan;
import org.springframework.context.annotation.Configuration;
import org.springframework.http.HttpMethod;
import org.springframework.security.config.annotation.authentication.builders.AuthenticationManagerBuilder;
import org.springframework.security.config.annotation.web.builders.HttpSecurity;
import org.springframework.security.config.annotation.web.builders.WebSecurity;
import org.springframework.security.config.annotation.web.configuration.EnableWebSecurity;
import org.springframework.security.config.annotation.web.configuration.WebSecurityConfigurerAdapter;
import org.springframework.security.config.http.SessionCreationPolicy;
import org.springframework.security.web.authentication.SimpleUrlAuthenticationFailureHandler;
import org.springframework.web.servlet.config.annotation.EnableWebMvc;

import com.hjbello.security.CustomBasicAuthenticationEntryPoint;

@Configuration
@EnableWebSecurity
@ComponentScan(basePackages = "com.hjbello")
public class CaptureImageConfiguration extends WebSecurityConfigurerAdapter {

    private static String REALM="MY_TEST_REALM";

    @Autowired
    public void configureGlobalSecurity(AuthenticationManagerBuilder auth) throws Exception {
        auth.inMemoryAuthentication().withUser("user").password("1234").roles("ADMIN");
        auth.inMemoryAuthentication().withUser("tom").password("abc123").roles("USER");
    }

    @Override
    protected void configure(HttpSecurity http) throws Exception {

      http.csrf().disable()
        .authorizeRequests()
        .antMatchers("/user/**").hasRole("ADMIN")
        .and().httpBasic().realmName(REALM).authenticationEntryPoint(getBasicAuthEntryPoint())
        .and().sessionManagement().sessionCreationPolicy(SessionCreationPolicy.STATELESS);//We don't need sessions to be created.
    }

    @Bean
    public CustomBasicAuthenticationEntryPoint getBasicAuthEntryPoint(){
        return new CustomBasicAuthenticationEntryPoint();
    }

    /* To allow Pre-flight [OPTIONS] request from browser */
    @Override
    public void configure(WebSecurity web) throws Exception {
        web.ignoring().antMatchers(HttpMethod.OPTIONS, "/**");
    }
}
The previous class contains the roles and users that will be necessary to access the app. The annotation @ComponentScan(basePackages = "com.hjbello") tells spring where to look for the rest controllers.
In order to configure the servlets (without the usual web.xml), we will need the following class:
/spring-rest-security-webcam/src/main/java/com/hjbello/CaptureImageInitializer.java
package com.hjbello;

import org.springframework.web.servlet.support.AbstractAnnotationConfigDispatcherServletInitializer;

public class CaptureImageInitializer extends AbstractAnnotationConfigDispatcherServletInitializer {

    @Override
    protected Class<?>[] getRootConfigClasses() {
        return new Class[] { CaptureImageConfiguration.class };
    }

    @Override
    protected Class<?>[] getServletConfigClasses() {
        return null;
    }

    @Override
    protected String[] getServletMappings() {
        return new String[] { "/" };
    }

}
Apart from the previous class (if we want to avoid using a file web.xml), the following dependencies shall be added in the pom.xml file:
<dependency>
 <groupId>org.springframework</groupId>
 <artifactId>spring-web</artifactId>
 <version>${org.springframework.version}</version>
</dependency>

<dependency>
 <groupId>javax.servlet</groupId>
 <artifactId>javax.servlet-api</artifactId>
 <version>${javax.servlet-api.version}</version>
 <scope>provided</scope>
</dependency>
Spring security also needs a class that specifies the entry point. This class was referenced in the configuration class that we wrote above.
/spring-rest-security-webcam/src/main/java/com/hjbello/security/CustomBasicAuthenticationEntryPoint.java
package com.hjbello.security;

import java.io.IOException;

import javax.servlet.http.HttpServletRequest;
import javax.servlet.http.HttpServletResponse;

import org.springframework.security.core.AuthenticationException;
import org.springframework.security.web.AuthenticationEntryPoint;
import org.springframework.stereotype.Component;
import java.io.IOException;
import java.io.PrintWriter;

import javax.servlet.ServletException;
import javax.servlet.http.HttpServletRequest;
import javax.servlet.http.HttpServletResponse;

import org.springframework.security.core.AuthenticationException;
import org.springframework.security.web.authentication.www.BasicAuthenticationEntryPoint;

public class CustomBasicAuthenticationEntryPoint extends BasicAuthenticationEntryPoint {

    @Override
    public void commence(final HttpServletRequest request,
            final HttpServletResponse response,
            final AuthenticationException authException) throws IOException, ServletException {
        //Authentication failed, send error response.
        response.setStatus(HttpServletResponse.SC_UNAUTHORIZED);
        response.addHeader("WWW-Authenticate", "Basic realm=" + getRealmName() + "");

        PrintWriter writer = response.getWriter();
        writer.println("HTTP Status 401 : " + authException.getMessage());
    }

    @Override
    public void afterPropertiesSet() throws Exception {
        setRealmName("MY_TEST_REALM");
        super.afterPropertiesSet();
    }
}
Capturing Movement with the webcam in the server
Our the package com.hjbello.webcam contains the classes that activate the webcam and start detecting movement capturing one photo each time something moves.

I will not go into detail here, I will just say that the package that these classes use is in this dependency:
<dependency>
 <groupId>com.github.sarxos</groupId>
 <artifactId>webcam-capture</artifactId>
 <version>0.3.10</version>
</dependency>
(see the github repository by Sarxos)
Rest Controller. Post and Get Methods
Before we set up the controller, we need two POJOs, one for the input of the operation and another for the output.
Here is the input (or request):
/spring-rest-security-webcam/src/main/java/com/hjbello/RequestCapture.java
Here is the output:
/spring-rest-security-webcam/src/main/java/com/hjbello/CapturedMovement.java
Basically, in the input we put the number of seconds during which we want the application to detect the movement (in the server). The output will give us a list with the images in base 64 that it has obtained and the date.
Our rest controller will be in the following class:
Here is the input (or request):
/spring-rest-security-webcam/src/main/java/com/hjbello/RequestCapture.java
package com.hjbello;

public class RequestCapture {

 int seconds;

 public RequestCapture(int seconds) {
  super();
  this.seconds = seconds;
 }

 public int getSeconds() {
  return seconds;
 }

 public void setSeconds(int seconds) {
  this.seconds = seconds;
 }

 public RequestCapture() {
  super();
  }

}
Here is the output:
/spring-rest-security-webcam/src/main/java/com/hjbello/CapturedMovement.java
package com.hjbello;

import java.util.ArrayList;
import java.util.Date;

public class CapturedMovement {

 private String dateOfCapture;

 private ArrayList<String> imagesPath;

 private ArrayList<byte[]> imagesBase64;

 public String getDateOfCapture() {
  return dateOfCapture;
 }

 public void setDateOfCapture(String dateOfCapture) {
  this.dateOfCapture = dateOfCapture;
 }

 public ArrayList<byte[]> getImagesBase64() {
  return imagesBase64;
 }

 public void setImagesBase64(ArrayList<byte[]> imagesBase64) {
  this.imagesBase64 = imagesBase64;
 }

 public CapturedMovement(String dateOfCapture, ArrayList<byte[]> imagesBase64) {
  super();
  this.dateOfCapture = dateOfCapture;
  this.imagesBase64 = imagesBase64;
 }

 public CapturedMovement() {
  super();
 }

 public ArrayList<String> getImagesPath() {
  return imagesPath;
 }

 public void setImagesPath(ArrayList<String> imagesPath) {
  this.imagesPath = imagesPath;
 }

}
Basically, in the input we put the number of seconds during which we want the application to detect the movement (in the server). The output will give us a list with the images in base 64 that it has obtained and the date.
Our rest controller will be in the following class:
/spring-rest-security-webcam/src/main/java/com/hjbello/CaptureImageRestController.java
package com.hjbello;

import java.io.IOException;
import java.util.ArrayList;
import java.util.Date;

import org.springframework.http.HttpStatus;
import org.springframework.http.ResponseEntity;
import org.springframework.web.bind.annotation.PathVariable;
import org.springframework.web.bind.annotation.RequestBody;
import org.springframework.web.bind.annotation.RequestMapping;
import org.springframework.web.bind.annotation.RequestMethod;
import org.springframework.web.bind.annotation.RestController;

import com.hjbello.webcam.DetectMotion;


@RestController
public class CaptureImageRestController {

    @RequestMapping("/")
    public String welcome() {//Welcome page, non-rest
        return "Welcome to RestTemplate Example.";
    }

    @RequestMapping("/captureStopIn/{seconds}")
    public ResponseEntity<CapturedMovement> captureGet(@PathVariable String seconds) {//REST Endpoint.
     RequestCapture request = new RequestCapture();
     request.setSeconds(Integer.parseInt(seconds));

        return capturePost(request);
    }

    @RequestMapping(value = "/capture/", method = RequestMethod.POST)
    public ResponseEntity<CapturedMovement> capturePost(@RequestBody RequestCapture request)  {//REST Endpoint.
     int seconds = request.getSeconds();
     Date date = new Date();
     DetectMotion detector = new DetectMotion("" + seconds);
     try {
   detector.record();
  } catch (IOException e) {
   e.printStackTrace();
  }
      ArrayList<String> imagesPath = detector.getListOfObtaiedImages();
      ArrayList<byte[]> imagesBase64 = detector.getListOfObtainedImageBase64();

     CapturedMovement response = new CapturedMovement();
     response.setImagesPath(imagesPath);
     response.setImagesBase64(imagesBase64);
     response.setDateOfCapture(date.toString());
        return new ResponseEntity<CapturedMovement>(response, HttpStatus.OK);
    }
}
The basic idea of this class is that.
The first method captureGet will take the string seconds from the path /captureStopIn/{seconds} and will use it to invoke the post method, returning the class CapturedMovement with the images.
The second method capturePost is the one that will invoke the class that captures the images and mount the output class. It will recieve the number of seconds in which it has to detect movement through the class RequestCapture.
The second method capturePost is the one that will invoke the class that captures the images and mount the output class. It will recieve the number of seconds in which it has to detect movement through the class RequestCapture.
Testing the application
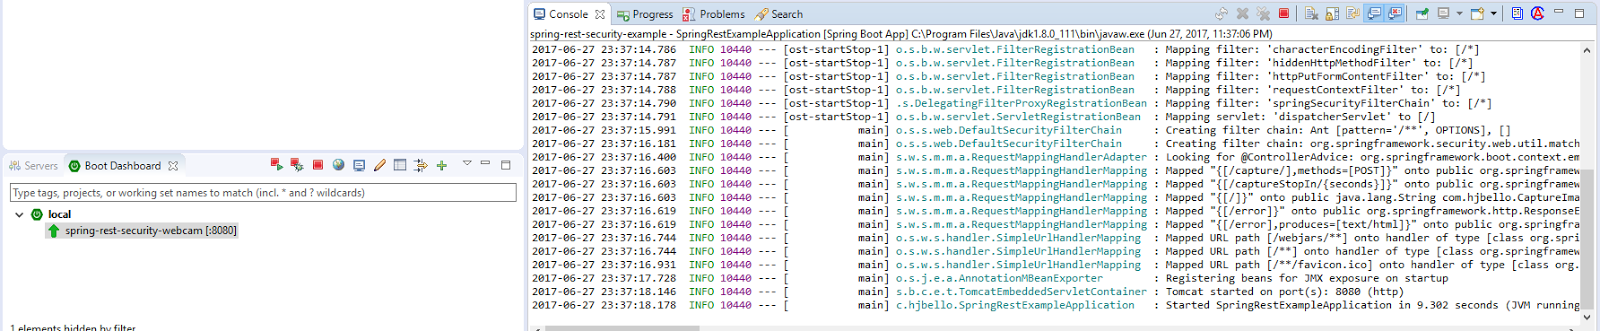
Once we have launched the application using spring boot, we start testing with postman
We introduce the user and the password in the tab Authorization

We translate the response into json and we introduce it in the Body tab. We we click send it will take some time, take the photos and give then to us encoded and inside the json response.

Similarly with the Get method:

Download the code here:
https://github.com/HugoJBello/webcam-mvc-controller
https://github.com/HugoJBello/webcam-mvc-controller/tree/master/spring-rest-security-webcam
https://github.com/HugoJBello/webcam-mvc-controller/tree/master/spring-rest-security-webcam


