In the process of testing applications sometimes you need to do quick changes in a mock web service and deploy it shiftly.
XML project file in SoapUI
When you export a SoapUI project you will get an xml that contains all the information and configuration of your project. Furthermore, if your project contains a mock service with its responses, those will be inside that xml.
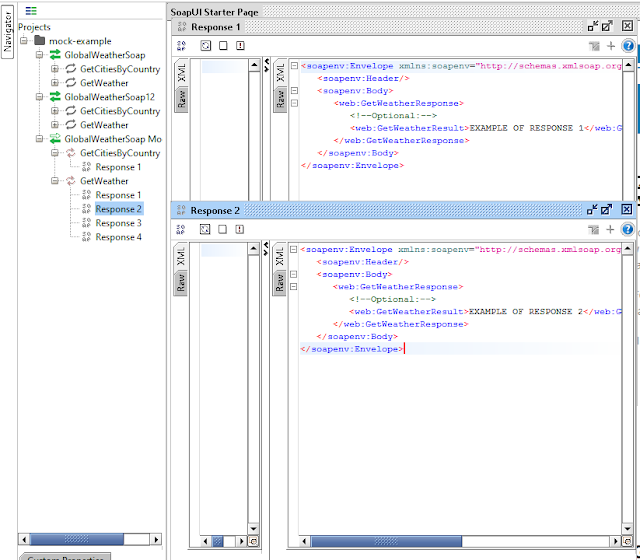
For instance I have created this simple project
I have added three very simple responses:
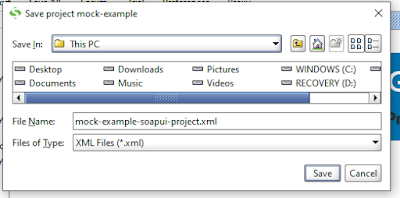
You can save it with Project --> Save project as
So If you change the data in those responses and import the project again you will see that the responses have changed accordingly.
This is a method that I found out for doing quick small changes across several SoapUI projects that I use frequently.
Nevertheless I still have not figured out how tho add responses using only this xml file. I do not fully understand the headings of the responses.
Deploying a SoapUI mock web service as a war file using the command line.
So if you have saved your soapui project into a xml as we did above, you can create a .war from it using the command line. I have troubles finding information about this and I think it is a great trick.
This is the .bat file that I use:
set war_file=D:\hugo_documentos\mock2.war
set war_dir=D:\hugo_documentos
set xml_dir=D:\hugo_documentos\mock-example-soapui-project.xml
set soapui-settings=C:\Users\hugo\soapui-settings.xml

cd /d C:\Program Files (x86)\SmartBear\SoapUI-5.3.0\bin

wargenerator.bat -f %war_file% -d %war_dir% -w true -x true -s %soapui-settings% %xml_dir%

pause
The trick is to use an executable called wargenerator that you will find inside the bin folder of your SoapUI installation folder. You will have to give it as inputs the place where you want the war file, the war directory, the SoapUI settings xml and the xml of your project.
I hope this helps!


thank you. this helped me.
ReplyDelete